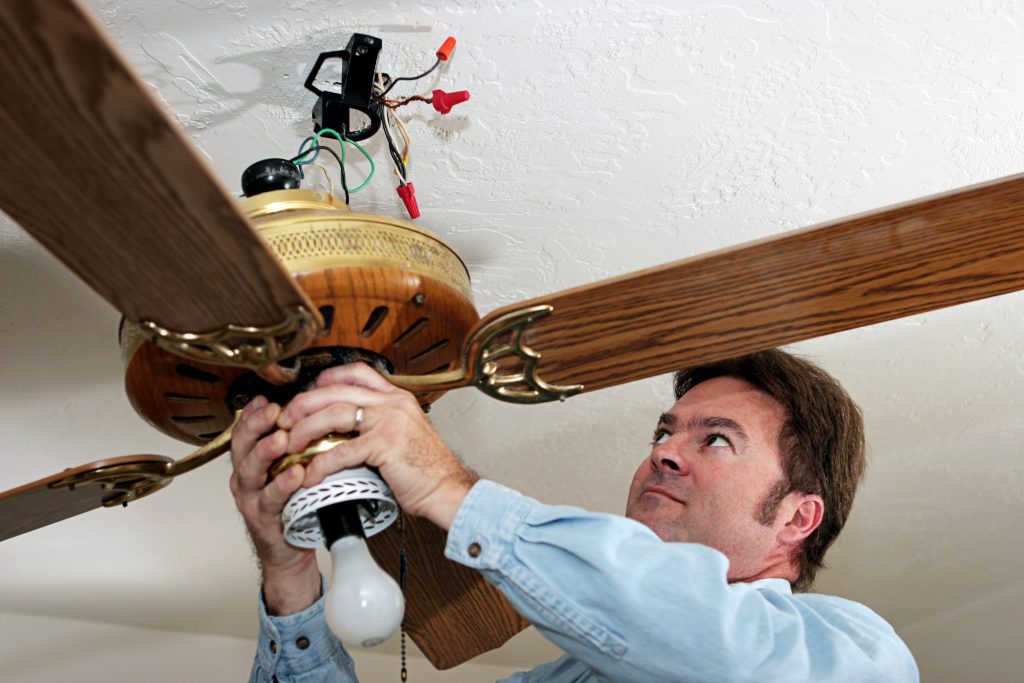
How Difficult Is It To Install a Ceiling Fan?

Are Ceiling Fan Installations Good DIY Projects?
Installing a ceiling fan can be a great way to improve air circulation and add a stylish touch to any room in your home. While some homeowners may choose to hire a professional for this task, others may be tempted to tackle the installation themselves. However, before diving into a DIY ceiling fan installation project, it's essential to consider the complexity involved and whether it's a suitable task for your skill level.
1. Read and Follow Manufacturer's Instructions
Before beginning the installation process, carefully review the manufacturer's instructions provided with your ceiling fan. These instructions offer detailed, step-by-step guidance on how to install the fan safely and correctly. Additionally, ensure that you have all the necessary tools and materials on hand, including a ladder, screwdriver, wire stripper, and electrical tape.
2. Consider Existing vs. New Installation
When installing a ceiling fan, it's essential to consider whether you are replacing an existing fan or installing one in a new location. Swapping out an old fan for a new one is generally more straightforward, as the electrical wiring and mounting hardware are already in place. However, installing a fan in a new location may present additional challenges.
3. Address Electrical Wiring
If installing a ceiling fan in a new location, ensure that the electrical wiring is properly installed and up to code. This may involve running new wiring from the electrical panel to the desired location for the fan. If you are uncomfortable working with electrical wiring or if your home's electrical system is outdated, consider hiring a licensed electrician for assistance.
4. Secure Mounting Location
Properly mounting the fan is crucial to prevent wobbling or falling. Ensure that the fan is securely attached to a ceiling joist or support structure. If uncertain about the strength of the ceiling or how to mount the fan correctly, seek professional assistance.
5. Balance Fan Blades
Achieving proper balance of the fan blades is essential for smooth and quiet operation. Most ceiling fans come with balancing kits that allow you to adjust the weight of the blades. Take the time to balance the fan correctly during installation to prevent future issues and extend the fan's lifespan.
6. Thoroughly Test the Fan
After installation, thoroughly test the fan to ensure that it is functioning correctly. This includes checking the speed settings, verifying that the fan blades are rotating in the correct direction for summer or winter operation, and ensuring that all electrical connections are secure.
7. Consider Professional Assistance
While installing a ceiling fan yourself is possible, it's essential to approach the task with caution and be aware of potential challenges. If uncertain about any aspect of the installation process or if you encounter difficulties along the way, consider consulting a professional to ensure the job is done safely and correctly.
Considering Installing a Ceiling Fan?
In conclusion, installing a ceiling fan can be a rewarding DIY project, but it's important to approach it with caution and attention to detail. By following the manufacturer's instructions, addressing electrical wiring properly, and ensuring secure mounting, you can enjoy the benefits of a well-functioning ceiling fan in your home.
If you feel confident in your abilities and have the necessary tools and skills, go ahead and tackle the installation yourself. However, if you encounter any challenges or feel unsure about any aspect of the process, don't hesitate to seek professional assistance. Your safety and the proper functioning of your ceiling fan are paramount.
So, whether you're looking to replace an existing fan or install a new one, take the time to plan carefully and execute the installation with care. With the right approach and attention to detail, you can enjoy the comfort and convenience of a ceiling fan in your home for years to come.